- Location
- London
Combat Fatigues Texturing - Template & Guide
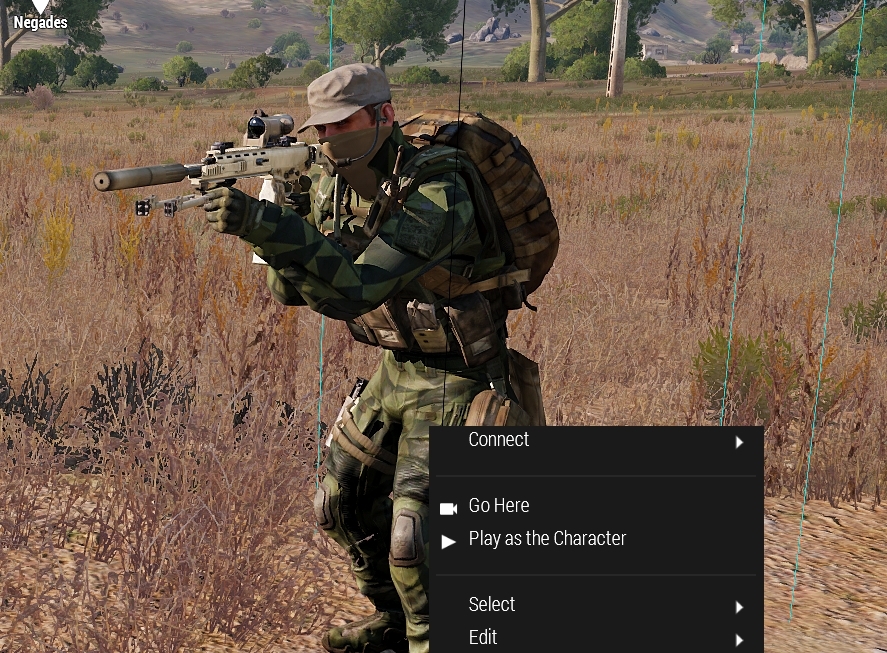
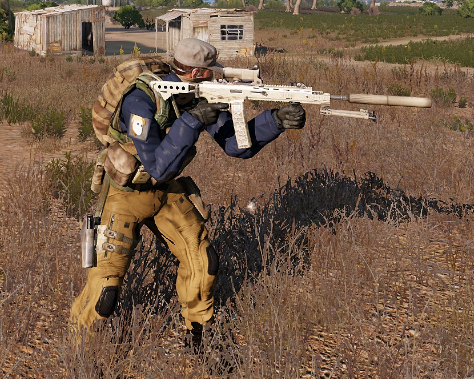
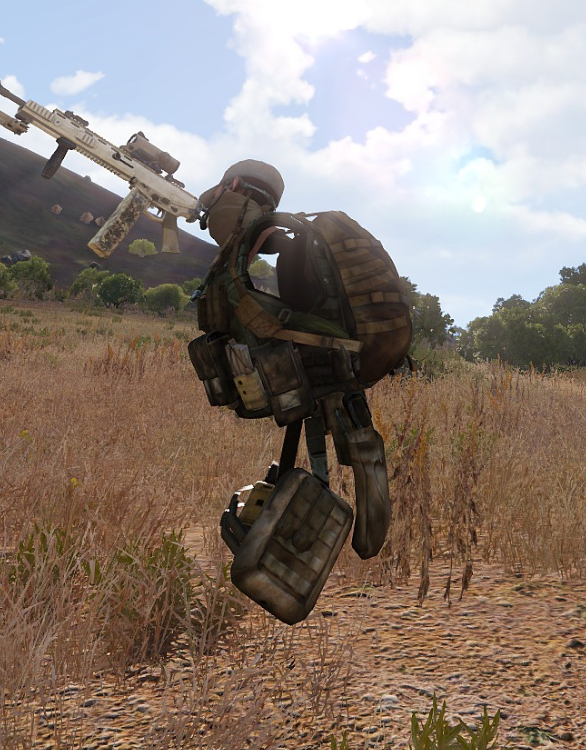
I've seen a lot of people interested in trying to make their textures and trying a lot of different things so I decided to share my own template for Combat/Stealth Fatigues. Maybe it will help fill up the Crayon's Club a little bit with some interesting outfits. Although I'll be showing how to work with this outfit most of this will work with any other clothing you may work with.
Obviously, there is a lot of templates already available online but I've made this one for myself to be as easy and convenient as possible. It's really simple and allows you to change colours, add patterns and easily replace and move things around. Let's get into it. The template is in .PSD format that's supported by Adobe Photoshop.
Let's start by assuming this is your first time trying to make something like this and go step by step.
Let's start by assuming this is your first time trying to make something like this and go step by step.
What clothing can I use this for?
Pretty much any Stealth and Combat Fatigues. Here are a few classes if needed. Stealth Uniforms will be more shiny and reflective. Colours may look a bit different.
Pretty much any Stealth and Combat Fatigues. Here are a few classes if needed. Stealth Uniforms will be more shiny and reflective. Colours may look a bit different.
Code:
U_B_CTRG_1 - CTRG Combat Uniform
U_B_CTRG_3 - CTRG Combat Uniform (Rolled-up)
U_B_CTRG_Soldier_F - CTRG Combat Uniform (Rolled-up)
U_B_CTRG_Soldier_F - CTRG Stealth Uniform
U_B_CTRG_Soldier_3_F - CTRG Stealth Uniform (Rolled-up)
How do I use this template?
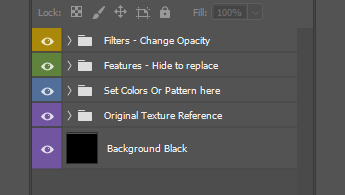
1 - Filters
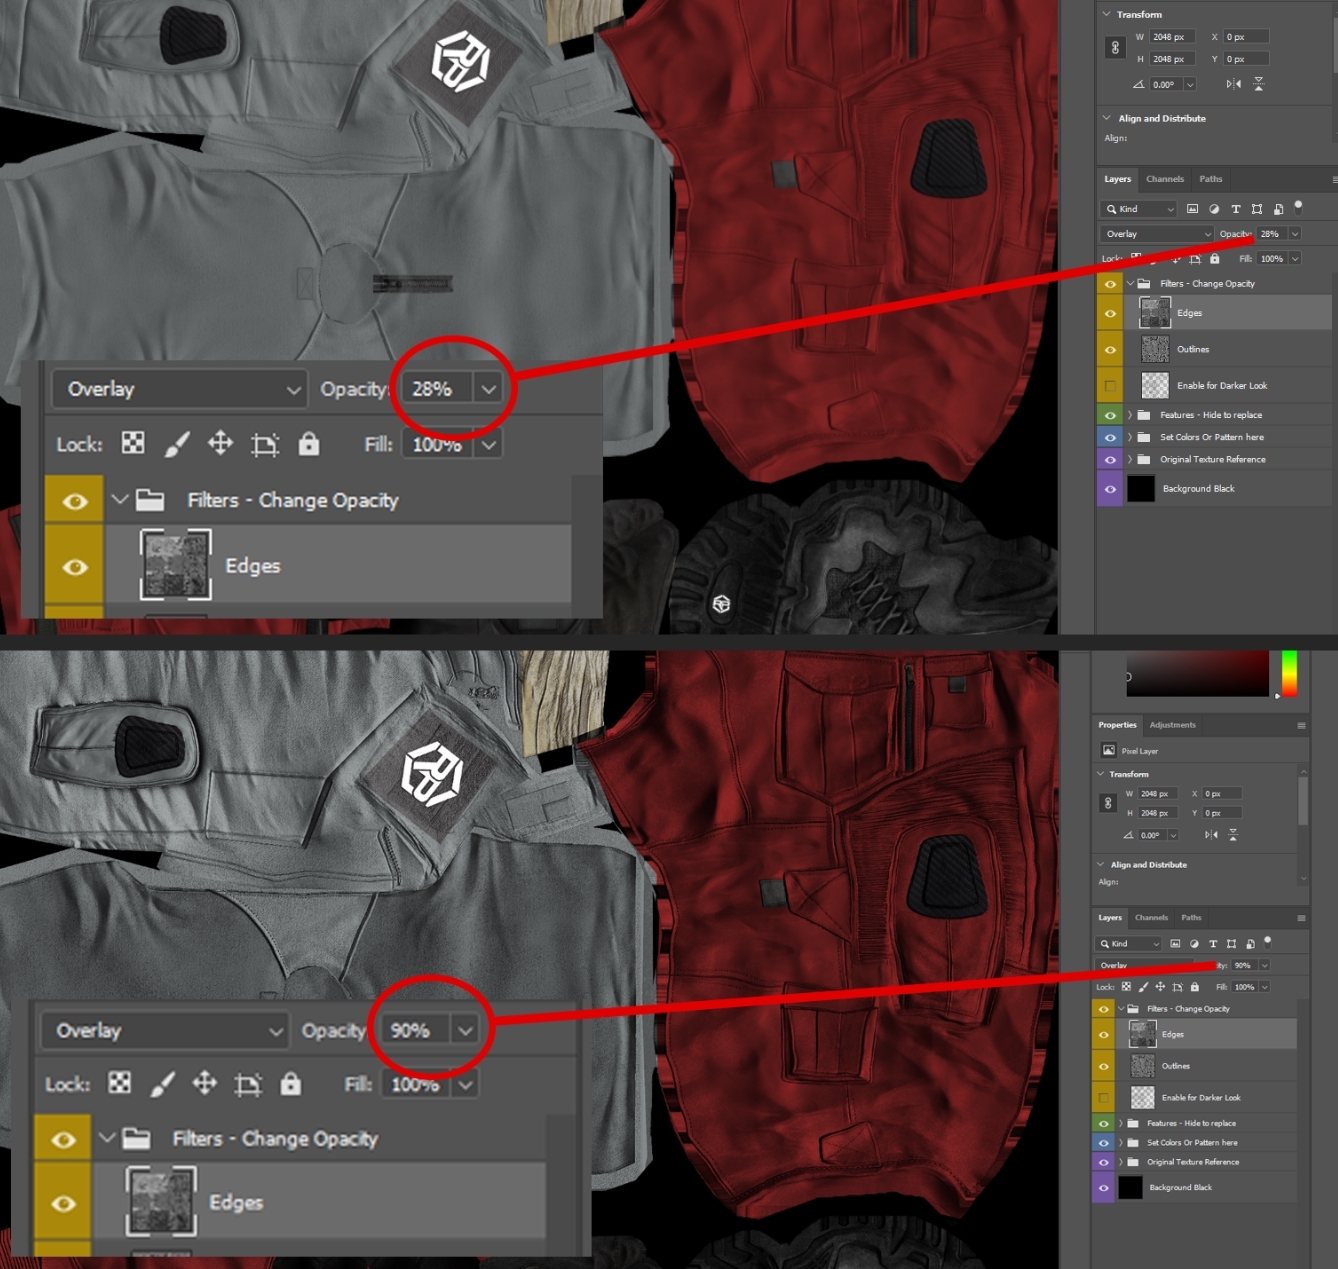
This allows you to easily set outline of your texture, making it stand out a bit more, this can make it look more natural and less flat. Simply change opacity scale on Edges and Outlines. This may require some experimenting as the results may differ based on the colour or background you are using.
This allows you to easily set outline of your texture, making it stand out a bit more, this can make it look more natural and less flat. Simply change opacity scale on Edges and Outlines. This may require some experimenting as the results may differ based on the colour or background you are using.
2 - Features
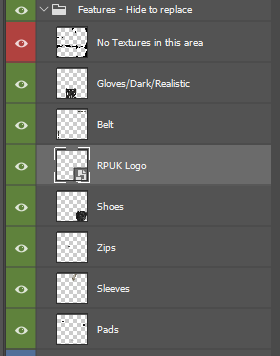
This folder contains zips, pads, shoes, pads and all these little things we don't want to colour together with the clothing itself. You can remove or change this as you wish to.
3 - Colours
The most important bit, here is where you change the colour, pattern and general look of your uniform
Click on Colour Overlay to open effects menu

Here you can either select your own colour or select a pattern.
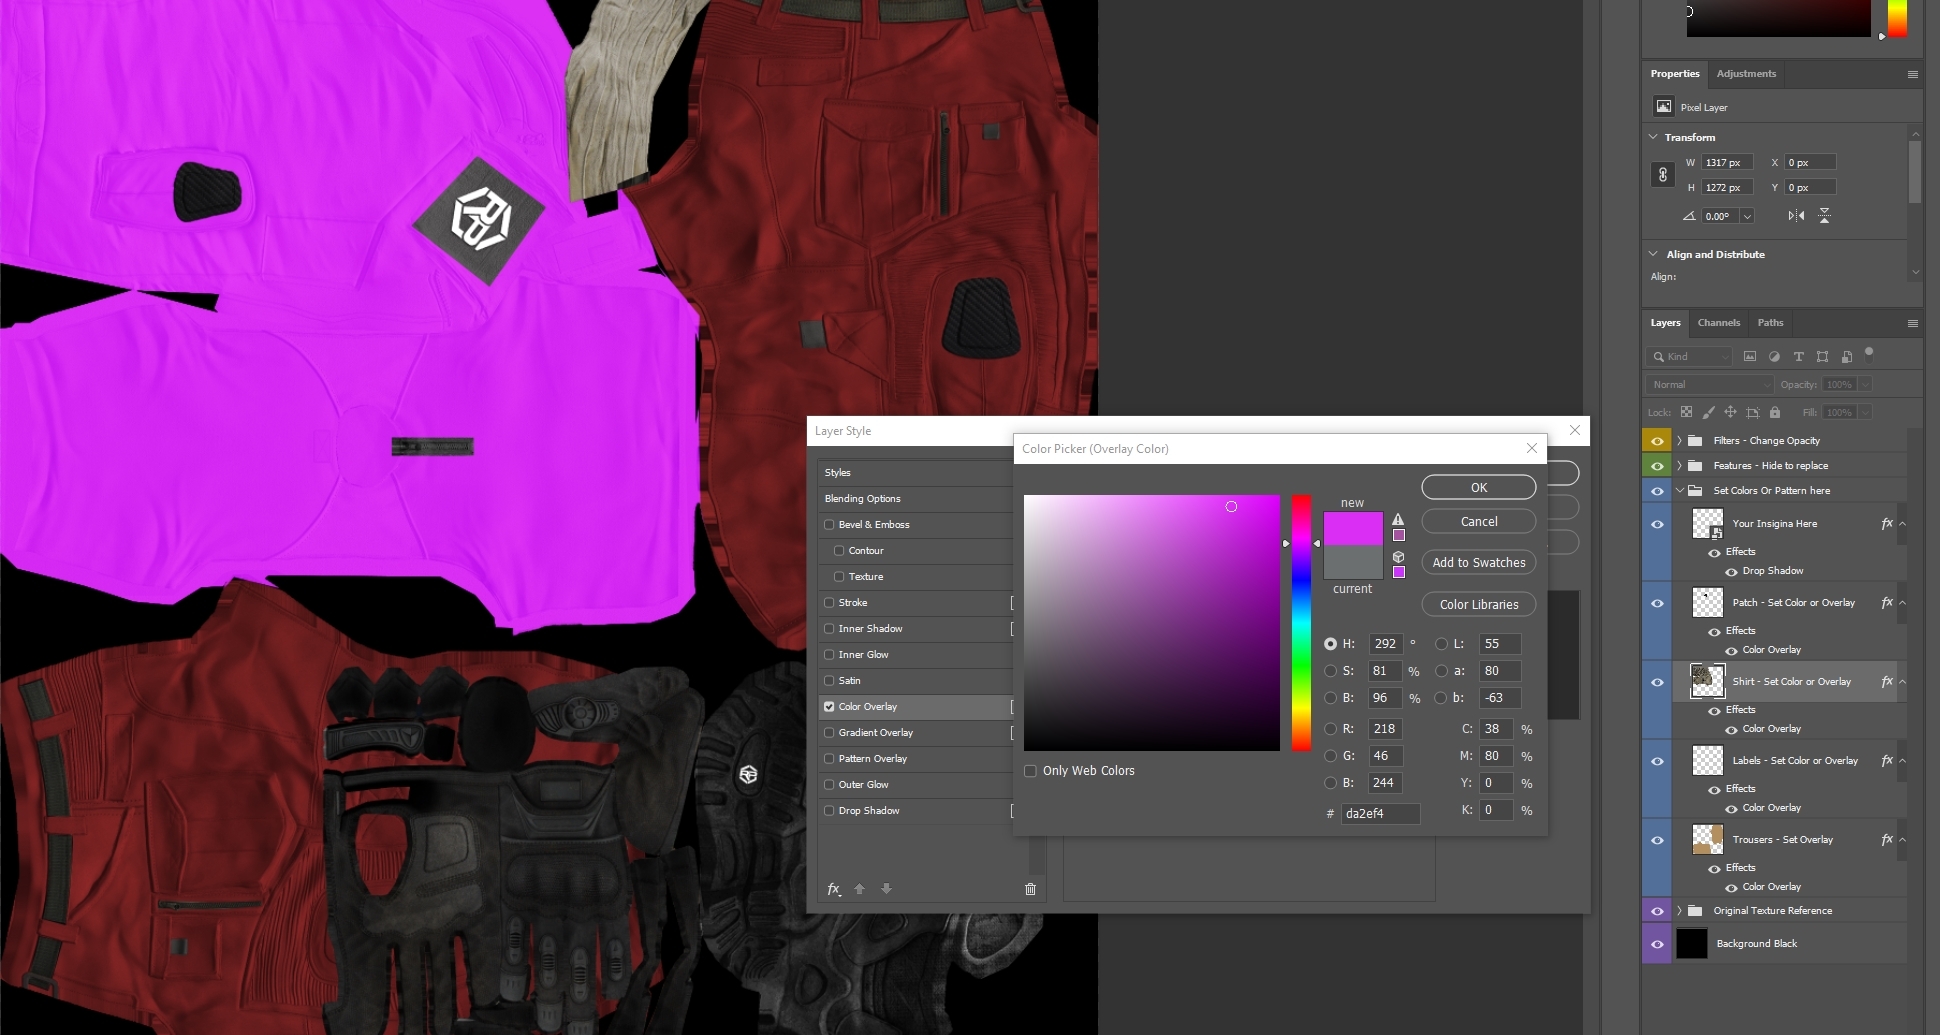

Here you can either select your own colour or select a pattern.

If you would like to compare your progress to one of the original textures, three of them are all included in Original Texture Reference folder
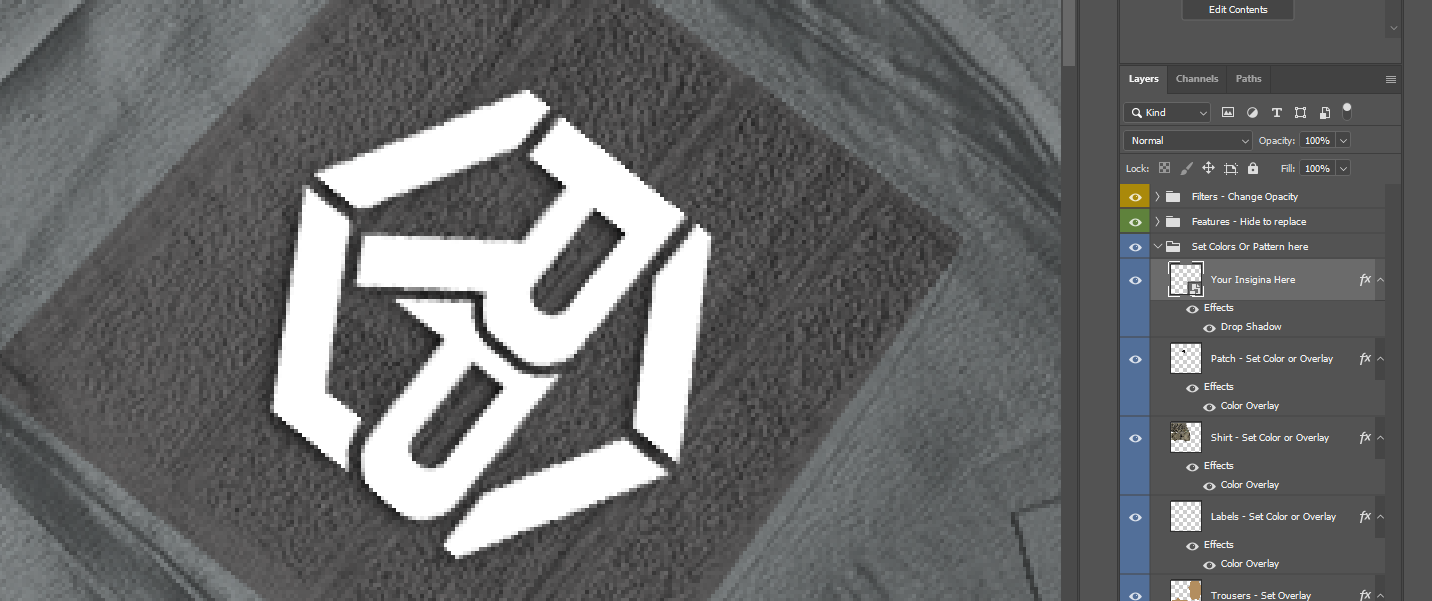
Where do I put my Insignia or Logo? Simply remove Your Insignia Here layer and replace it with your own image (Preferably a transparent PNG)

What's next?
You made it! Well done. Now when you have your cool looking texture you want to see what it looks like in game I'm guessing. For now we will skip the conversation about what's the difference between PAA and JPG and we will assume you are just testing your uniform.
- Export the texture as a JPG
- Start Arma 3 and enter Eden Editor, map doesn't matter
- Place a character on the map and edit his loadout via arsenal to get the clothing you need
- Right click him and select attributes or just double click on the character
- Click on Scenario in left top corner and Save As
- Navigate to Yourname\Documents\Arma 3 - Other Profiles
- Find your profile, open missions, open folder with your mission name and paste texture to the scenario folder (For example it should end on .Altis if you selected Altis)
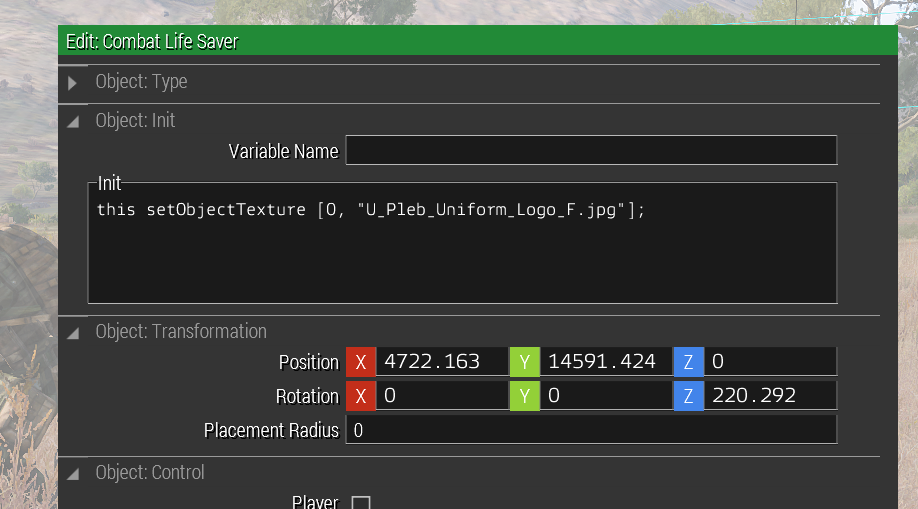
There is a small windows with Init above it, all you need to do for testing your texture is to add the following into Init and replace TextureName.jpg with your own texture name.
Code:
this setObjectTexture [0, "TextureName.jpg"];Where is Init?
Now click on Play as the character
Congrats! You've just made and tested your first texture!
Download from Google Drive
Last edited by a moderator:

